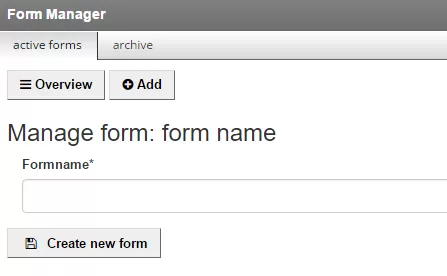
Creating a form
Step 1: Enter a name for your form
Make sure you choose a name you will recognize later.

Step 2: Add fields to your form

Explanation of fields from left to right
| Field | Explanation |
|---|---|
| Save | Save your form after you have made changes |
| Input field | Add a single-line text field |
| Multiline input field | Add a field in with multiple lines of text |
| Email address | Add an email field |
| Date | Allow the respondent to enter a date |
| Checkbox | Allow the respondent to make a choice (multiple options possible) |
| Radio button | Allow the respondent to make a choice (only one option possible) |
| Pulldown | Allow the respondent to make a choice (only one option possible) |
| Approval | Allow the respondent to place a tick for approval |
| Add file | Allow the respondent to upload a file |
| Heading 1 | Add a heading |
| Heading 2 | Add a subheading |
| Text | Add text |
| New line | Add white space |
| Separator line | Add a horizontal line |
Stap 3: Move fields (if desired)
When you hover over the dots to the left of the text, the pointer changes to a hand and you can drag the question to another location (drag & drop).

Step 4: Go to the processing settings
Here you fill in what should happen after the form is completed by your visitor.

Step 5: Save in the database
If you want to save the respondent's data in the database (so you can access them later via the CMS), tick 'yes' here.
